Roots Tech for the Homebody – a New Olympic Sport!

Olympics_Opening_Ceremony

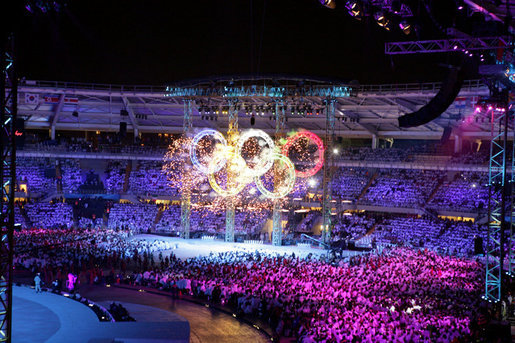
On February 6th, 2014 thousands of people from all over the world will come together again for a worldwide event of epic proportions.  For some, it will be the pinnacle of a lifetime pursuit – an exhilarating fulfillment of a lifelong dream; for others, sadly, it will be the tearful agony of defeat; for everyone it will be a time of bonding with strangers, podiums, and pin-trading.  It’s too bad none of them will have time for the Olympics, because they are gonna be at ROOTS TECH, baby! (But that’s what DVR is for, so no worries.)

Yes, it’s time for Roots Tech again –  the largest genealogy conference in North America!

Rootstech

So, you are saying to yourself, “I get the part about the pinnacle of a lifetime pursuit, but what’s the deal with the tearful agony of defeat?”  Well, I have been to Roots Tech, and when the class you really, really want to attend is full and you can’t get anywhere near the door you, too, might slump to the ground in a tearful heap.  But personal trauma aside, let me help you get the most from Roots Tech even if you will be home watching the Olympics.

Sjoukje Dijkstra, Dutch Ice Skater, Netherlands, 1964 Olympic Gold Medal Winner

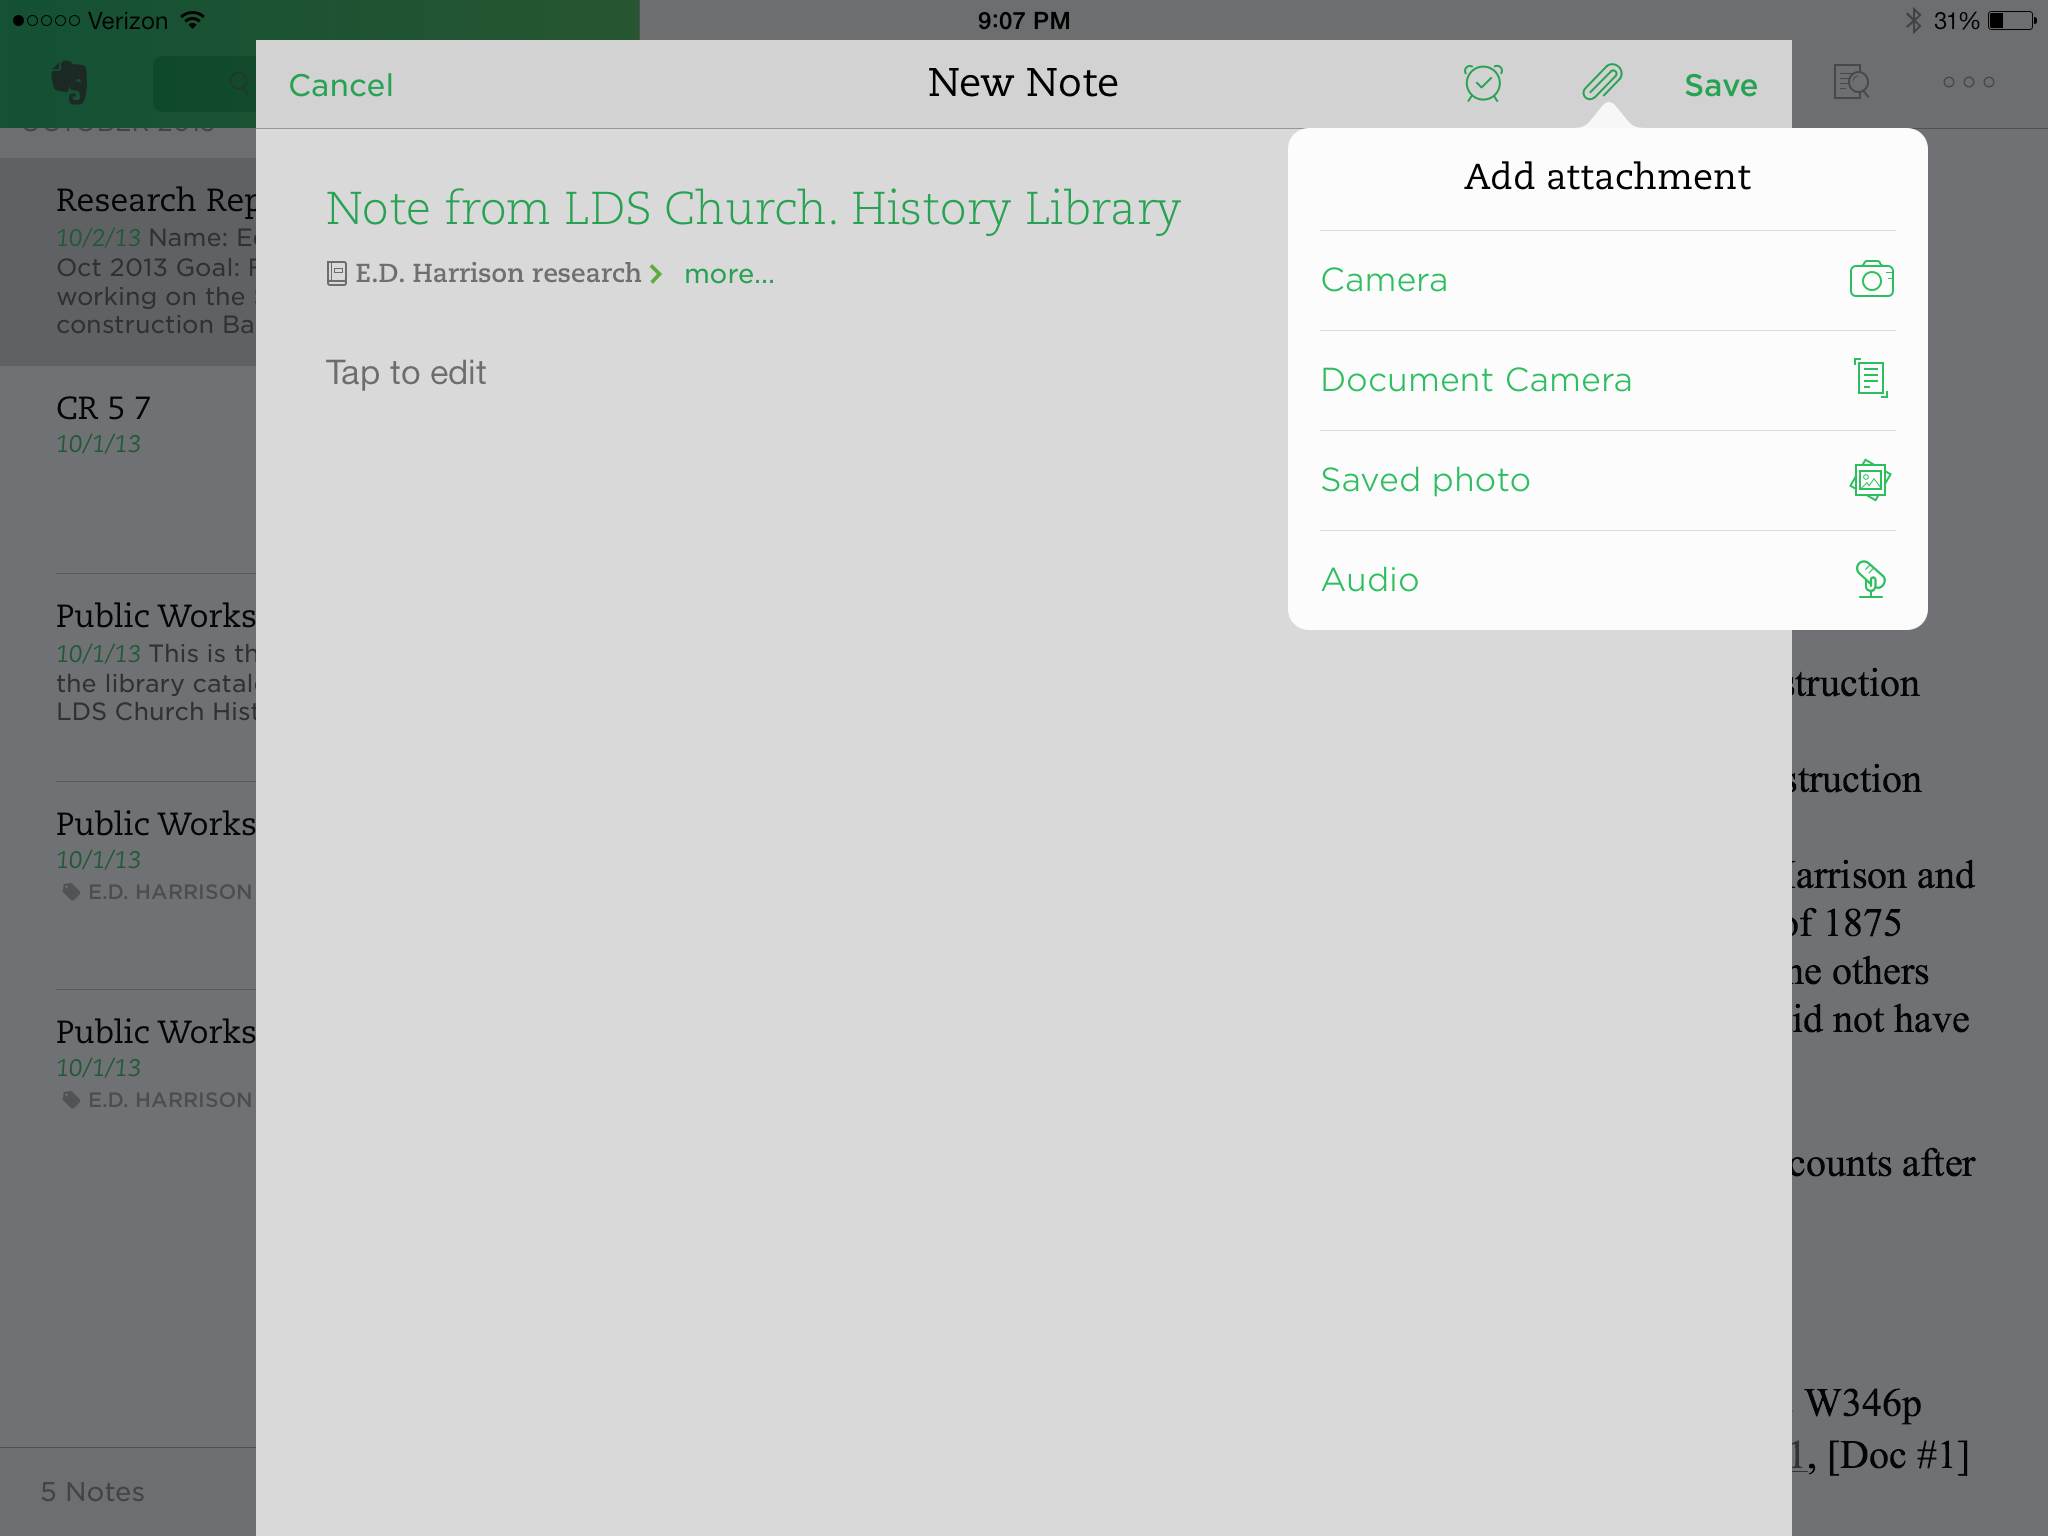
First, you can download the syllabus for free!   If you take a look at the list of classes in the Session Viewer, you can identify which files in the syllabus you want to open.  Make a note of the RT# in the session viewer – it will correspond to the RT# in the syllabus. The download is available for a limited time (I don’t know what that means exactly), so hurry.

And speaking of hurrying…

Luge+World+Cup+Day+4+E1RhuupcBqMl

Second, you can stream some of the classes online for free! Check out the schedule and prop yourself up in front of a computer Thursday, Friday, and Saturday. I plan to multi-task, watching classes on a sofa with my laptop while viewing the Olympics. Doesn’t get much better than that!

In the meantime, you can watch videos of some of last year’s classes.  I think these videos might go away when 2014 videos become available, so it would be best to watch them before February 6th.

I have a good feeling about next week, how about you?

2661003_10

New Feature On Granny’s Trail – Handy links to online databases

On Granny’s Trail is rolling out a new feature to help you with your western states research – “Online Databases for Western States.” I am doing this for myself as much as I am for you. I just like having all the best links to actual databases in one place, organized by state. I think you will like it, too!

Online databasesCheck out links on the right side of the On Granny’s Trail homepage.  I am adding collections available at free sites around the web as fast as I can. Only free collections are included here, and I’m guessing some of them will be new to you.

I’d love to add any databases you readers might be aware of.  Just let me know! And check back periodically to see what’s new, because these lists will be growing.

2014 Ancestor Roundup

It’s time for the 33rd Annual Ancestor Roundup in Seaside (Monterey), California.  I will be presenting four classes.  My syllabus content is available here On Granny’s Trail under “Class Handouts.”  For the full line-up check out the class schedule below. Continue reading “2014 Ancestor Roundup”

Using Evernote for Paperless Genealogy Research – My Easy Guide

{NOTE: See also the Evernote post from 30 june 2015 for additional ideas.]  Did you make a New Year’s Resolution to reduce those piles of paper in your office? My last post gave you methods for scanning and digitizing your research files and photos, but how do you avoid having it all pile up again?  You might want to give Evernote a try. Evernote is a robust app that organizes and syncs notes across all your devices, and lends itself very well to paperless genealogy research.

Evernote 1

My last trip to Salt Lake City I decided to go paperless in my research sessions, just to see if it worked for me.  I wanted to develop a methodology using Evernote with my laptop (which uses Windows 7) and my iPad. I can report that it worked very well and am sharing my “system” with you today.

PCs and iPads

Evernote has a different look on a PC than an iPad, and the screenshots I am posting are from the iPad.  I was researching at the LDS History Library (not to be confused with the Family History Library) which has both book stacks on a research floor and an archival research room that have differing rules for researchers; no cameras or phones are allowed in the research room so I used the laptop there.  On the research floor I utilized the iPad’s camera, which my laptop doesn’t have.  Since Evernote syncs across devices it was not a problem. When I returned home it was all available on my desktop PC, too.

Before you go

Do as much prep work at home as possible.  It will save you precious research time at the repository.

  1. Create a notebook in Evernote for the individual you will research this session
  2. Create your first “note” in the notebook and name it “Research Report”
  3. Access the online card catalog for the repository you will visit and decide which records you will search
  4. “Clip” images of the catalog entries into separate “notes” within your notebook

First, I created a notebook with the surname I was researching. When you have more than one notebook you can “stack” them and create one big “Research” notebook.

evernote 3

Within your new notebook, you will create various new notes. A note is another word for a document in Evernote, and is the basis for everything you will do in the app. The first note will be your research report, which you will add to as you go through your research session.  It tracks your thought process, records successful and unsuccessful searches, and helps you pick up where you left off when you go back to your research.  If you want to elevate the quality of your research you need to adopt this habit. Here is the format I use.  I usually elaborate on my thought process more, but this abbreviated version has the basics:

A Sample Research Report

I accessed the LDS Church History Catalog online and “clipped” the entries using the Evernote Webclipper add-on, adding each one to a new note.

Evernote 2
Clip online catalog entries and add each one to a new note.

I now had a handy “to do” list in my notebook, which was actually a list of notes I had created from clipped catalog entries plus my research report. Here’s a screenshot of the E.D. Harrison folder I annotated. The list can be sorted by title or date.

Evernote 2

The Research Session

Now you are all ready for your research session.  Be sure to bring chargers for your devices, by the way, and at archives bring your photo identification and a pencil to fill out call slips.

  1. Add to notes you created at home
  2. Create new notes for items you did not have on your “to do” list
  3. Record each step in your research report
  4. Number documents by annotating images in Evernote

Add to each note you have already created by recording your search results for that item, and adding a photo of the document or abstracting the record right in the note. You can type in text above or below an image in a note. The note for a record could include an image from the library catalog giving you a complete citation, comments you have typed in, an extract or abstract of the record, or an image of the record which you can annotate if you like.

You will inevitably come across records you had not pre-planned as your research develops during your research session.  Simply create a new note and add a photo of the record within that note:

Clicking on the paperclip icon brings up options for adding photos.  You can even add audio!
Clicking on the paperclip icon brings up options for adding photos. You can even add audio!

Images can be annotated with handwriting, text, boxes, or arrows by clicking on the image then clicking on a little “clock/arrow/a” icon in the upper right corner that I couldn’t get a shot of.

Use this feature to highlight names and add a document number to each record, and cross-reference it to your research report:

Evernote 4
Images can be annotated with boxes, handwriting, or text

When you get home

  1. Admire your tidy list of records searched, complete with images, extracts, and notations.
  2. Finish up your research report.
  3. That’s it

If you have ever come home from a research trip with a briefcase stuffed full of papers and groaned within you as you sifted through the pile, you will love the feeling of opening up your Evernote app and scrolling down your list of records.  With each click you will see your day’s work unfold before your eyes, all thorough and organized.

If you cannot bear the thought of having no papers to shuffle, stack, and file, just print out your notes.  Silly you 🙂

How I digitized my research and gave it all to you

Last week I reached a milestone.  For the past year I have been scanning 27 years worth of research, which amounted to 4 gigantic/stuffed drawers in a file cabinet.  Last week I scanned my last file folder. *happy dance*  In this post I’d like to share my reasons, method and tools. I also have a class handout posted you are welcome to print out. Continue reading “How I digitized my research and gave it all to you”