My digital genealogy life sometimes feels out of control. Know what I mean? In a single online research session I can download more digitized documents than I would bring home in a whole week of library research. I can connect my digital camera and dump hundreds of digital photos onto my laptop in no time at all. When my hard drive began to look like my virtual hall closet, I knew I needed to do a little straightening up.
Here are six things that have helped me simplify my digital genealogy life (the hall closet will have to wait!):
1. Establish a file-naming convention
I’m talking here about your digital files – you know, what you name the documents and images you save on your computer. Establish a file-naming convention for yourself and put it on a sticky-note on your monitor until it becomes second nature. Giving some thought to how your file names will work for you after you have created hundreds of files will pay off down the road when you want to find a file for a particular individual or locality or time period. You will also see the benefits immediately as you peruse your tidy file directory. Keep it simple. Some wise advice I received early in my research is, “Everyone knows the alphabet. Use it.” That’s when I stopped using complicated numbering systems and went back to alphabetizing. You might have a first-class numbering system for your paper files, but your digital files are better off alphabetical. Here’s what I use: Surname-given name_year_event_details as needed. Here is how it looks in my directory, filed in the “Hansen, Peter” folder:
- Hansen-Peter_1855_immigration_ship_manifest
- Hansen-Peter_1862_marriage_license
- Hansen-Peter_1862_marriage_certificate
See how easy it is to view at a glance a chronology of Peter’s life as represented by the documents I have for him? And I can see where my gaps are. For example, I should try to find an 1870 census. Naming your files in a consistent way as you download them, and saving them to the appropriate file folders (see item #2) are a foundation you can build on as you simply your digital genealogy life.
2. Use no more than 5-8 main folders to organize the genealogy files on your hard drive
Take a look at your file directory. I’ll bet you have dozens of categories of file folders there. I suggest you create no more than 5-8 categories for your main file folders and then file everything—folders and loose files—within those main folders. Here are some ideas: Surnames, Localities, Conferences and Workshops, Software Data Files, Forms and Templates, DNA, Correspondence, and General Family History Files. Adapt it to your needs. You can create subfolders within the main folders, but keeping 5-8 main files on “top” will simplify things. I am a folder-creator extraordinaire, but I felt like I was so much more in control once I boiled things down to some basic categories and neatly filed away my hundreds of sub-folders and files for easy access.
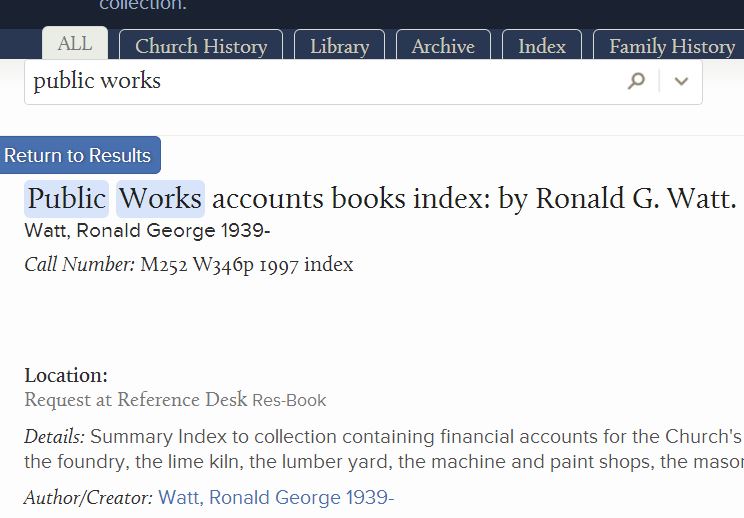
3. Establish a consistent workflow for saving webpages, documents, and images
What do you do when you find a webpage you want to remember? Do you save a screenshot? Do you clip it to Evernote or create a bookmark? Do you copy the link into a document? Whatever it is, be consistent. Write down your workflow for this and every other type of situation you encounter regularly. What do you do when you find a source document on Ancestry, FamilySearch, or other website you want to save? How do you import, name, and process digital images from your camera or other device? Write down your workflow and post it where you can see it. It will become second nature before long, and having a routine will make your research seem simpler. Your files will also seem to organize themself because they will get filed as you go. You won’t be re-inventing your methods every other day and then finding your files scattered across your hard drive.
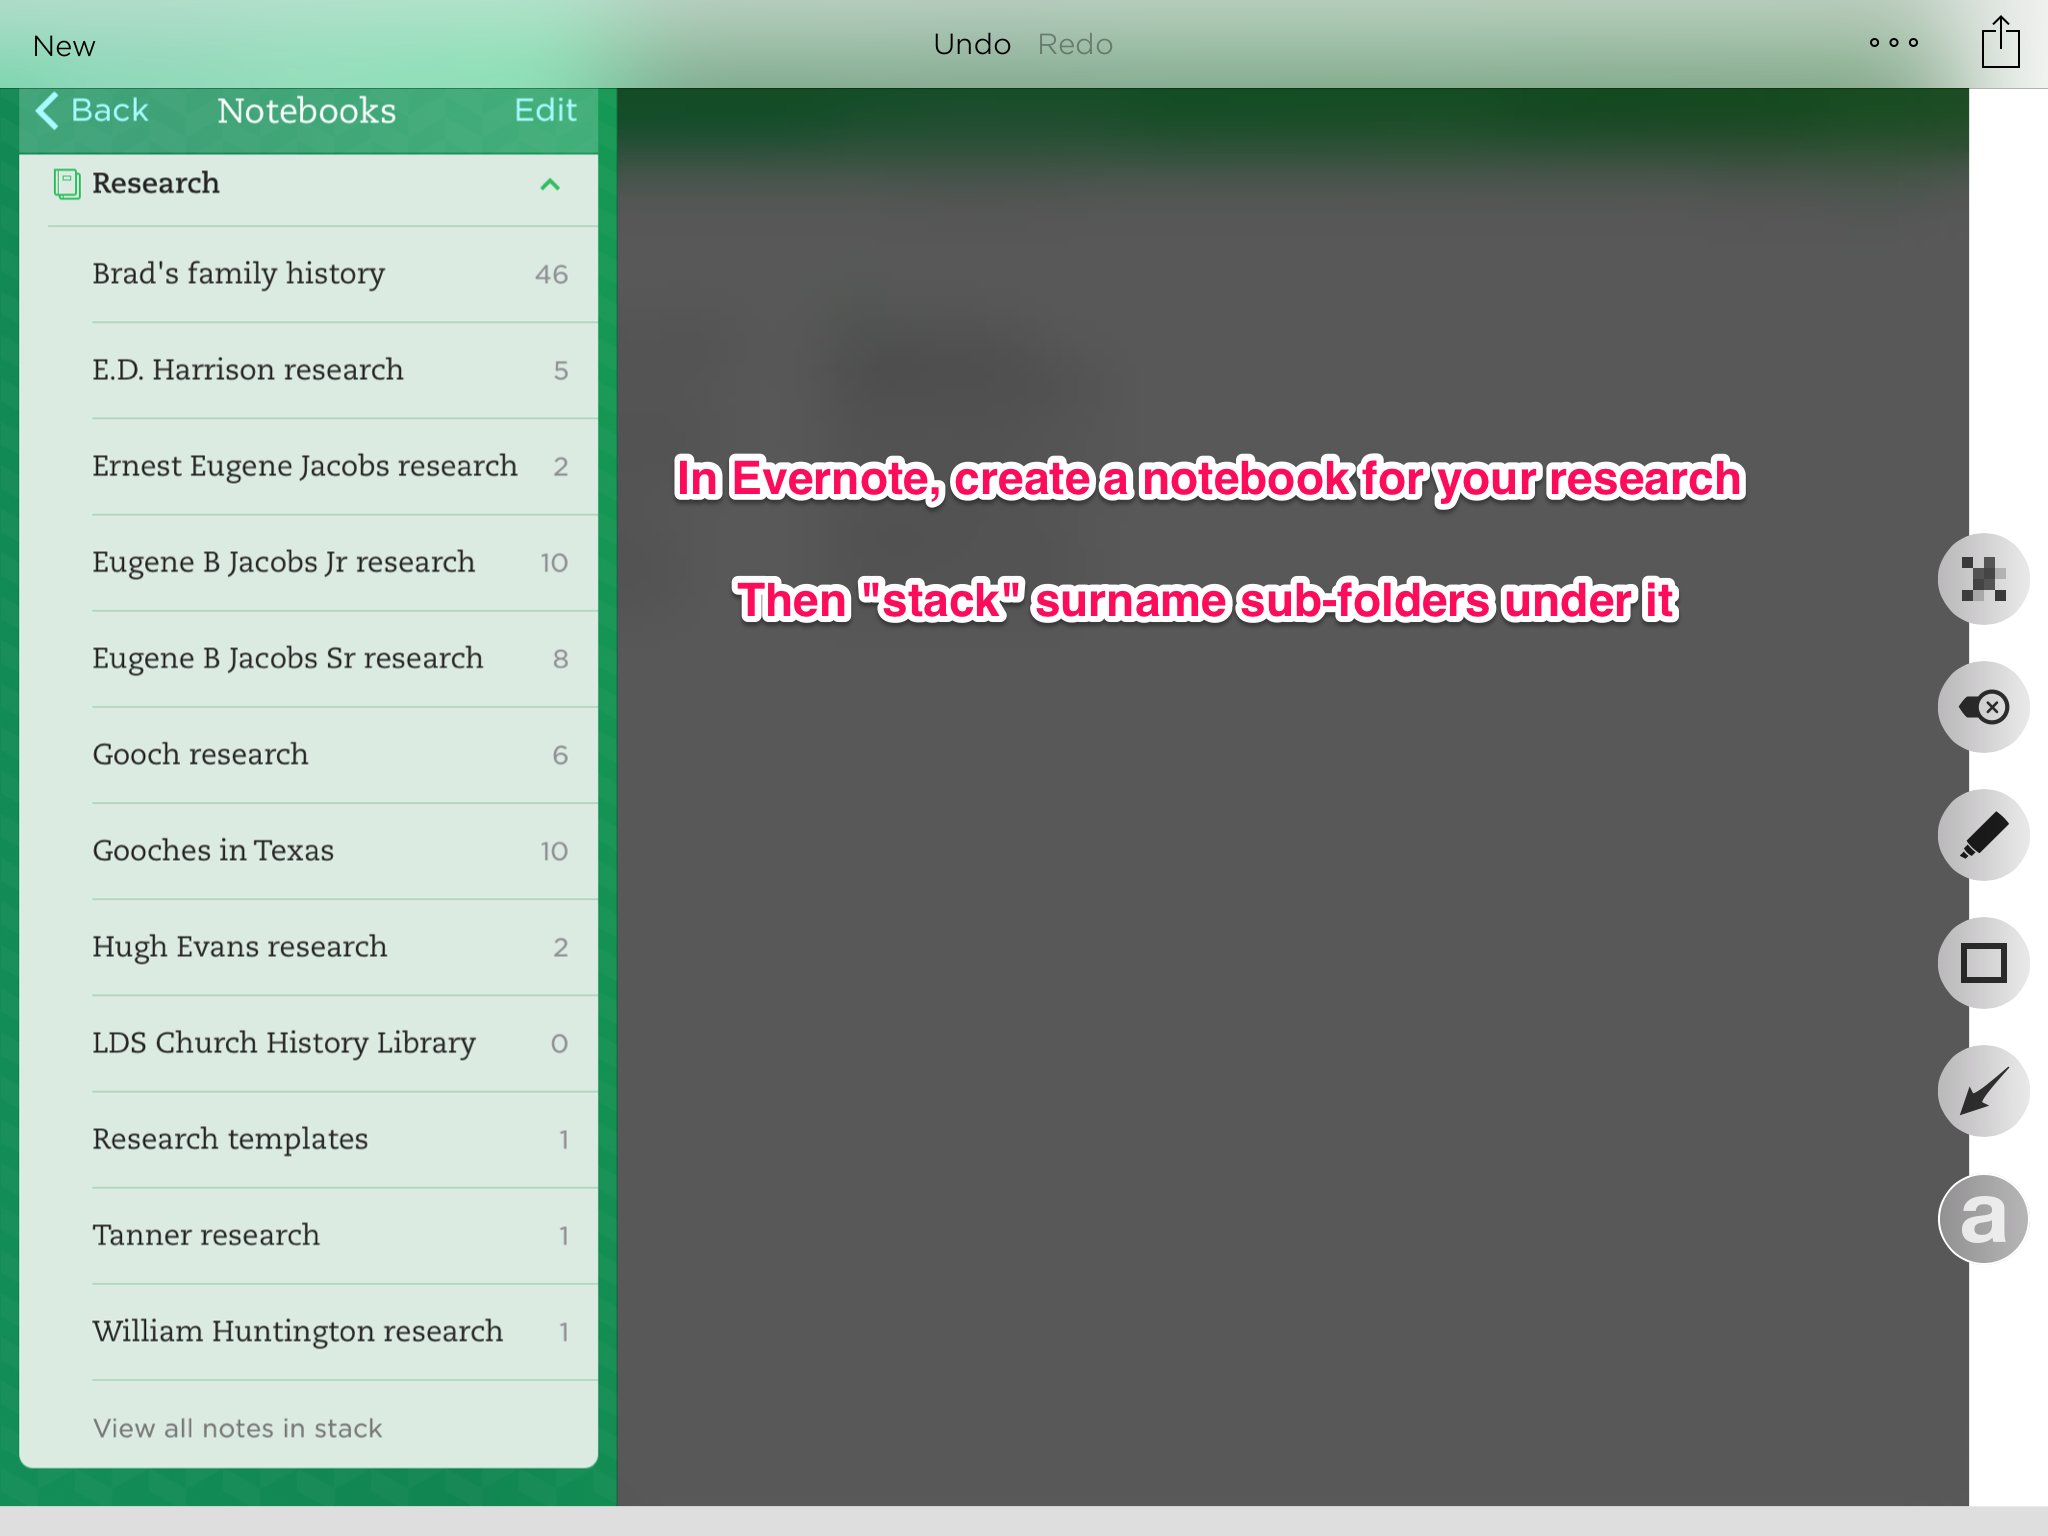
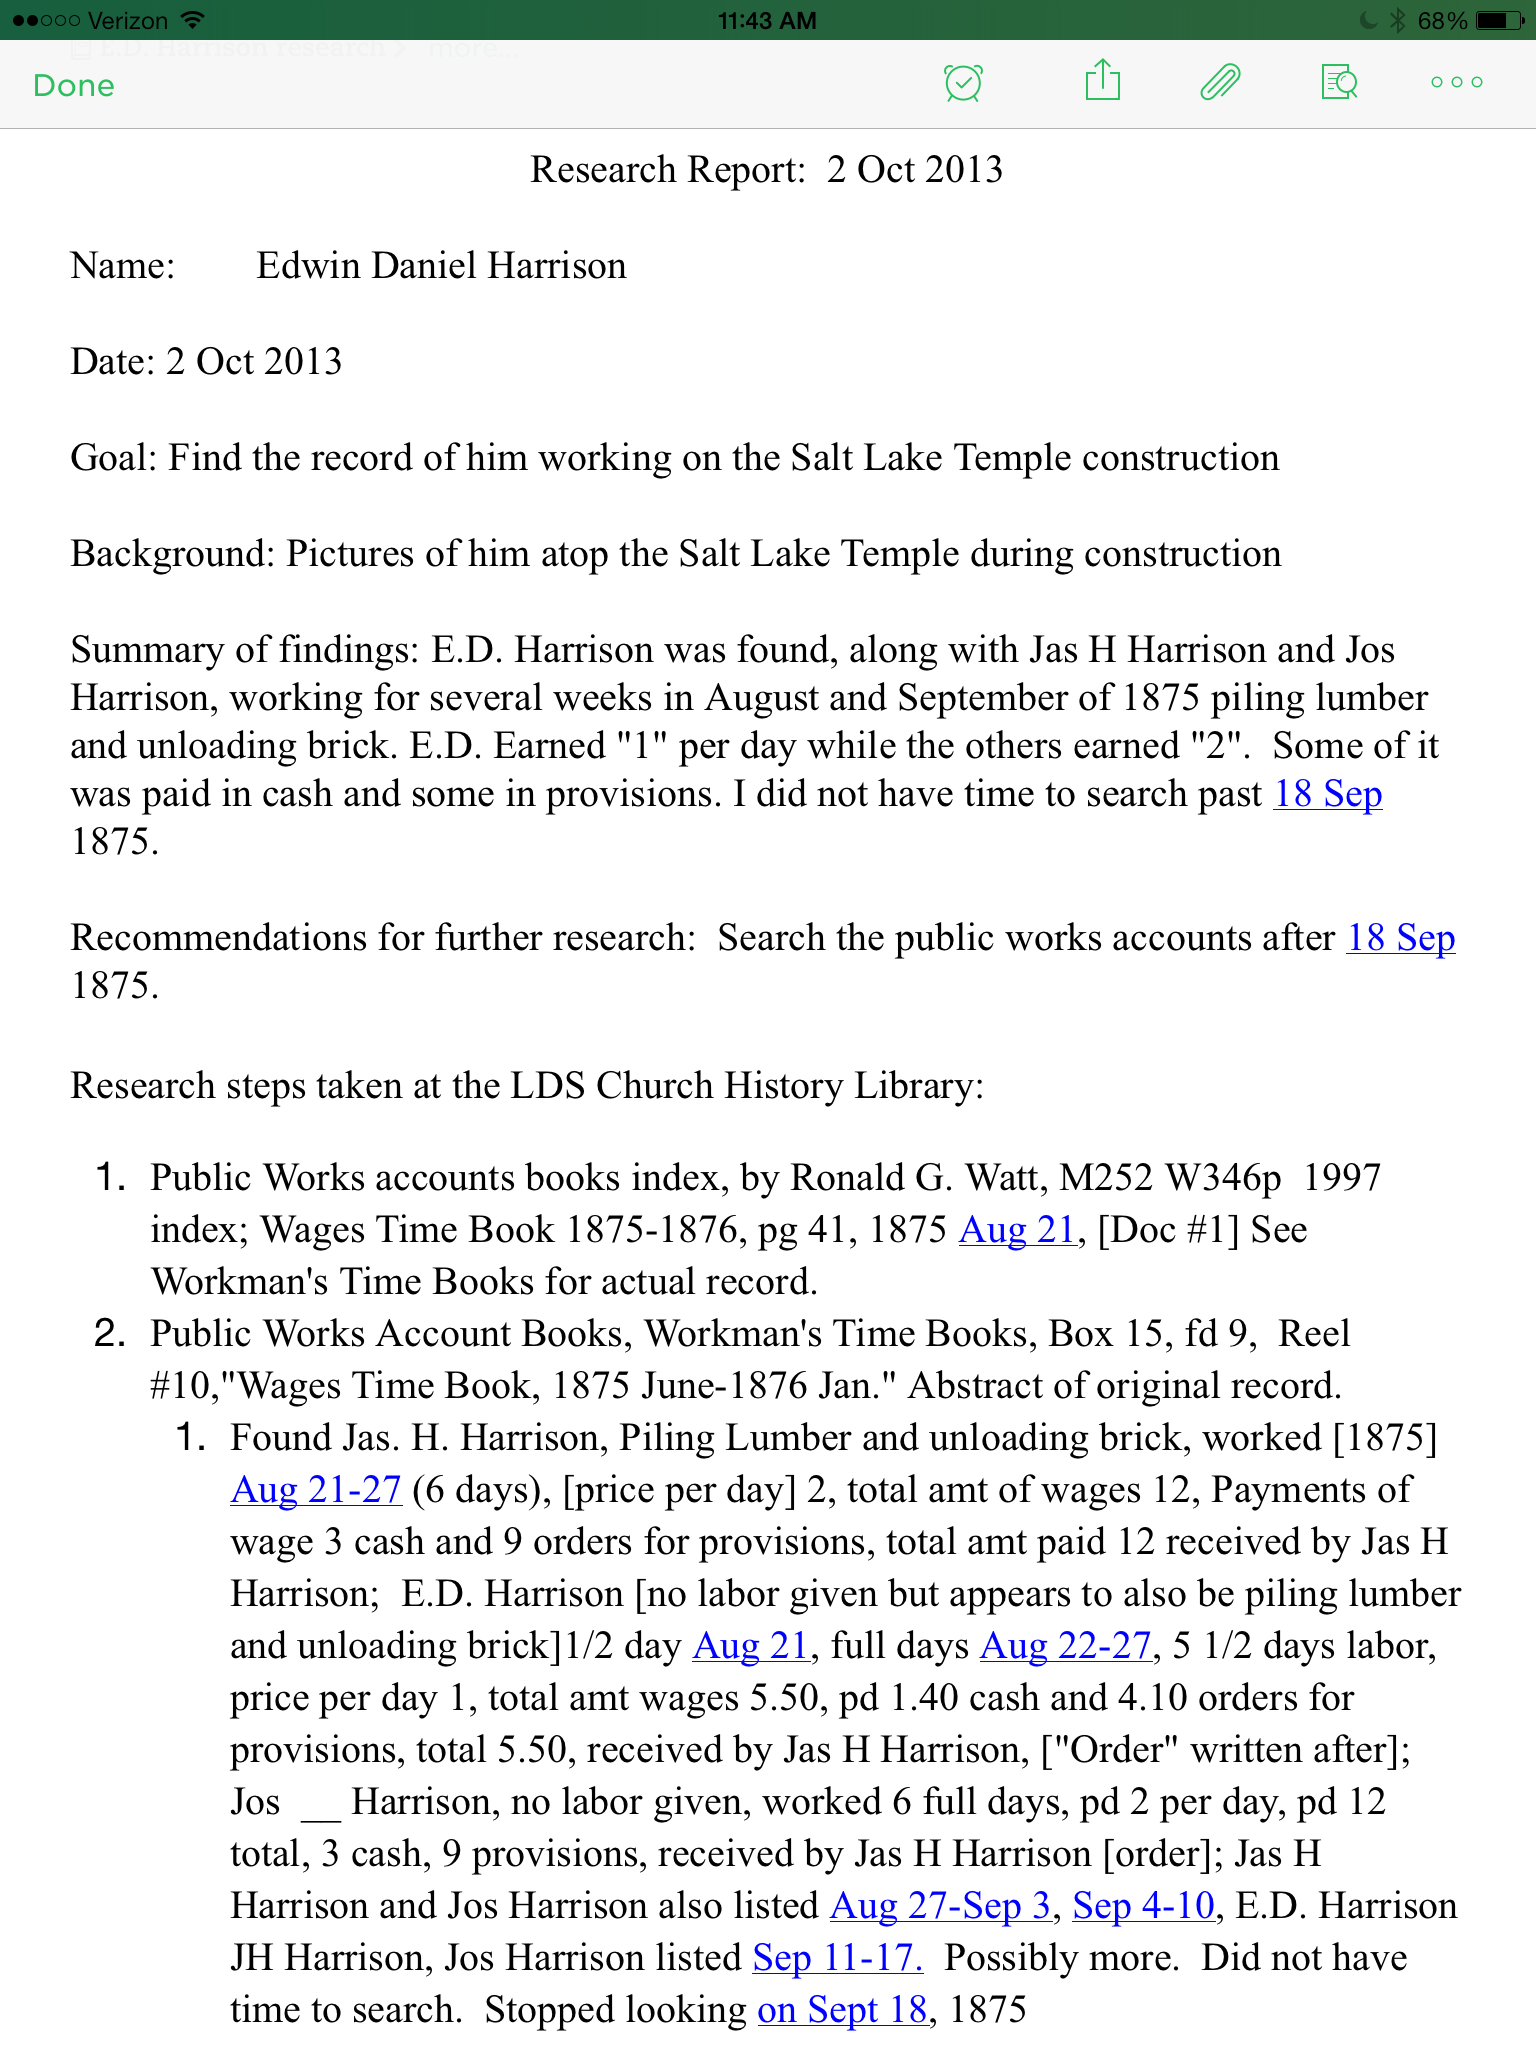
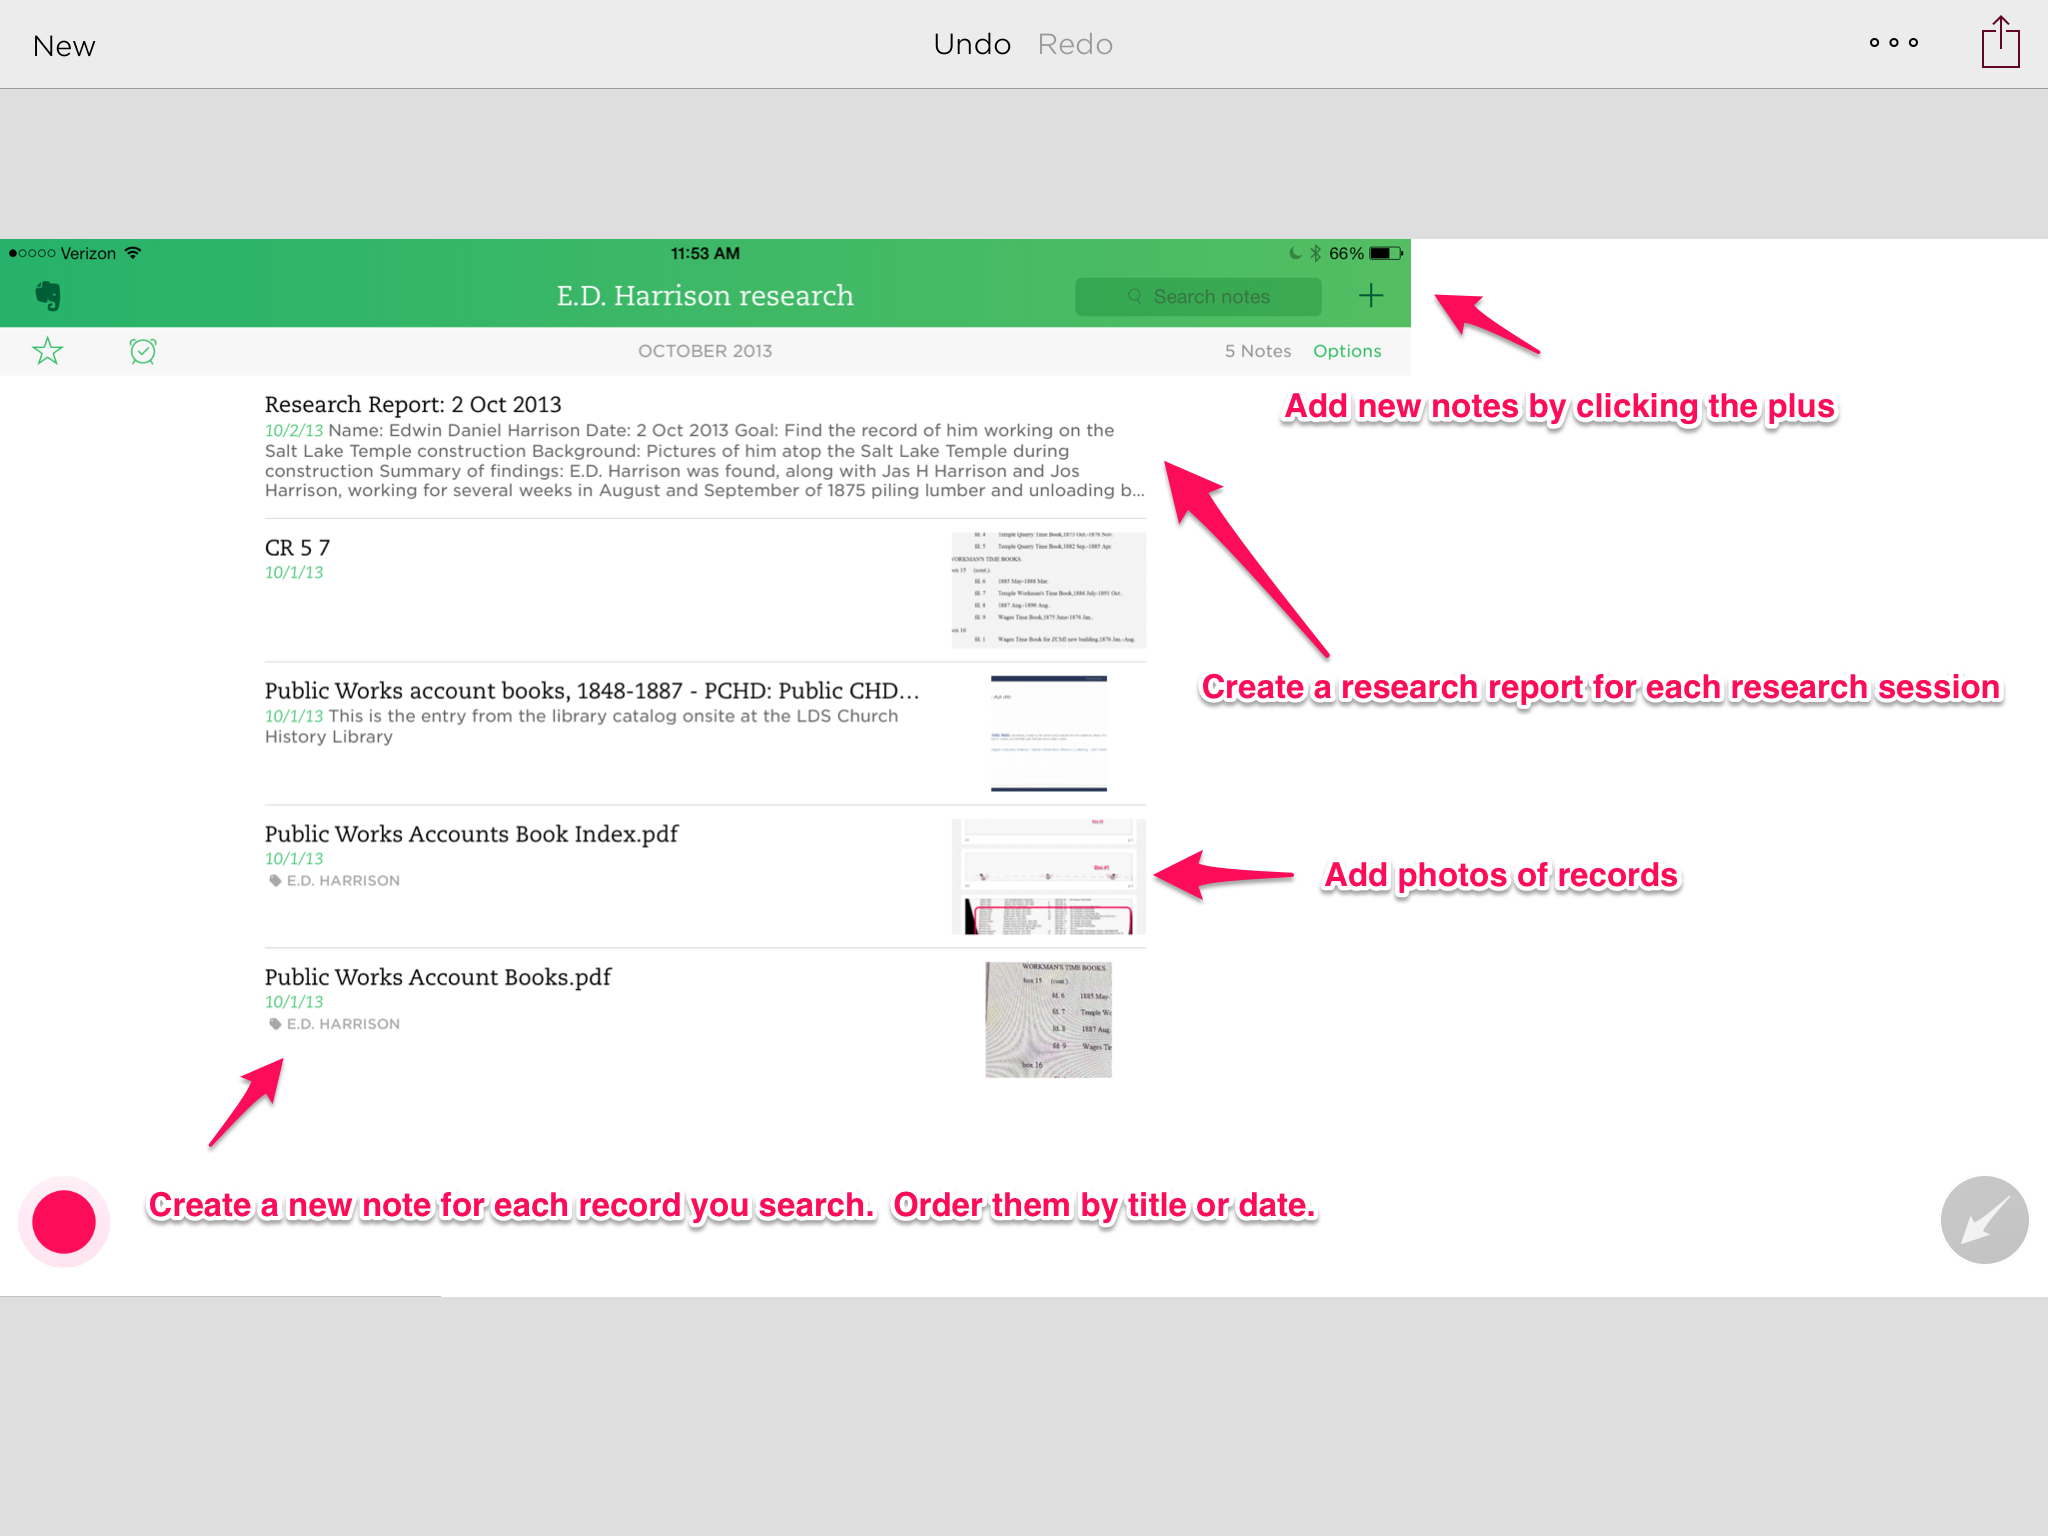
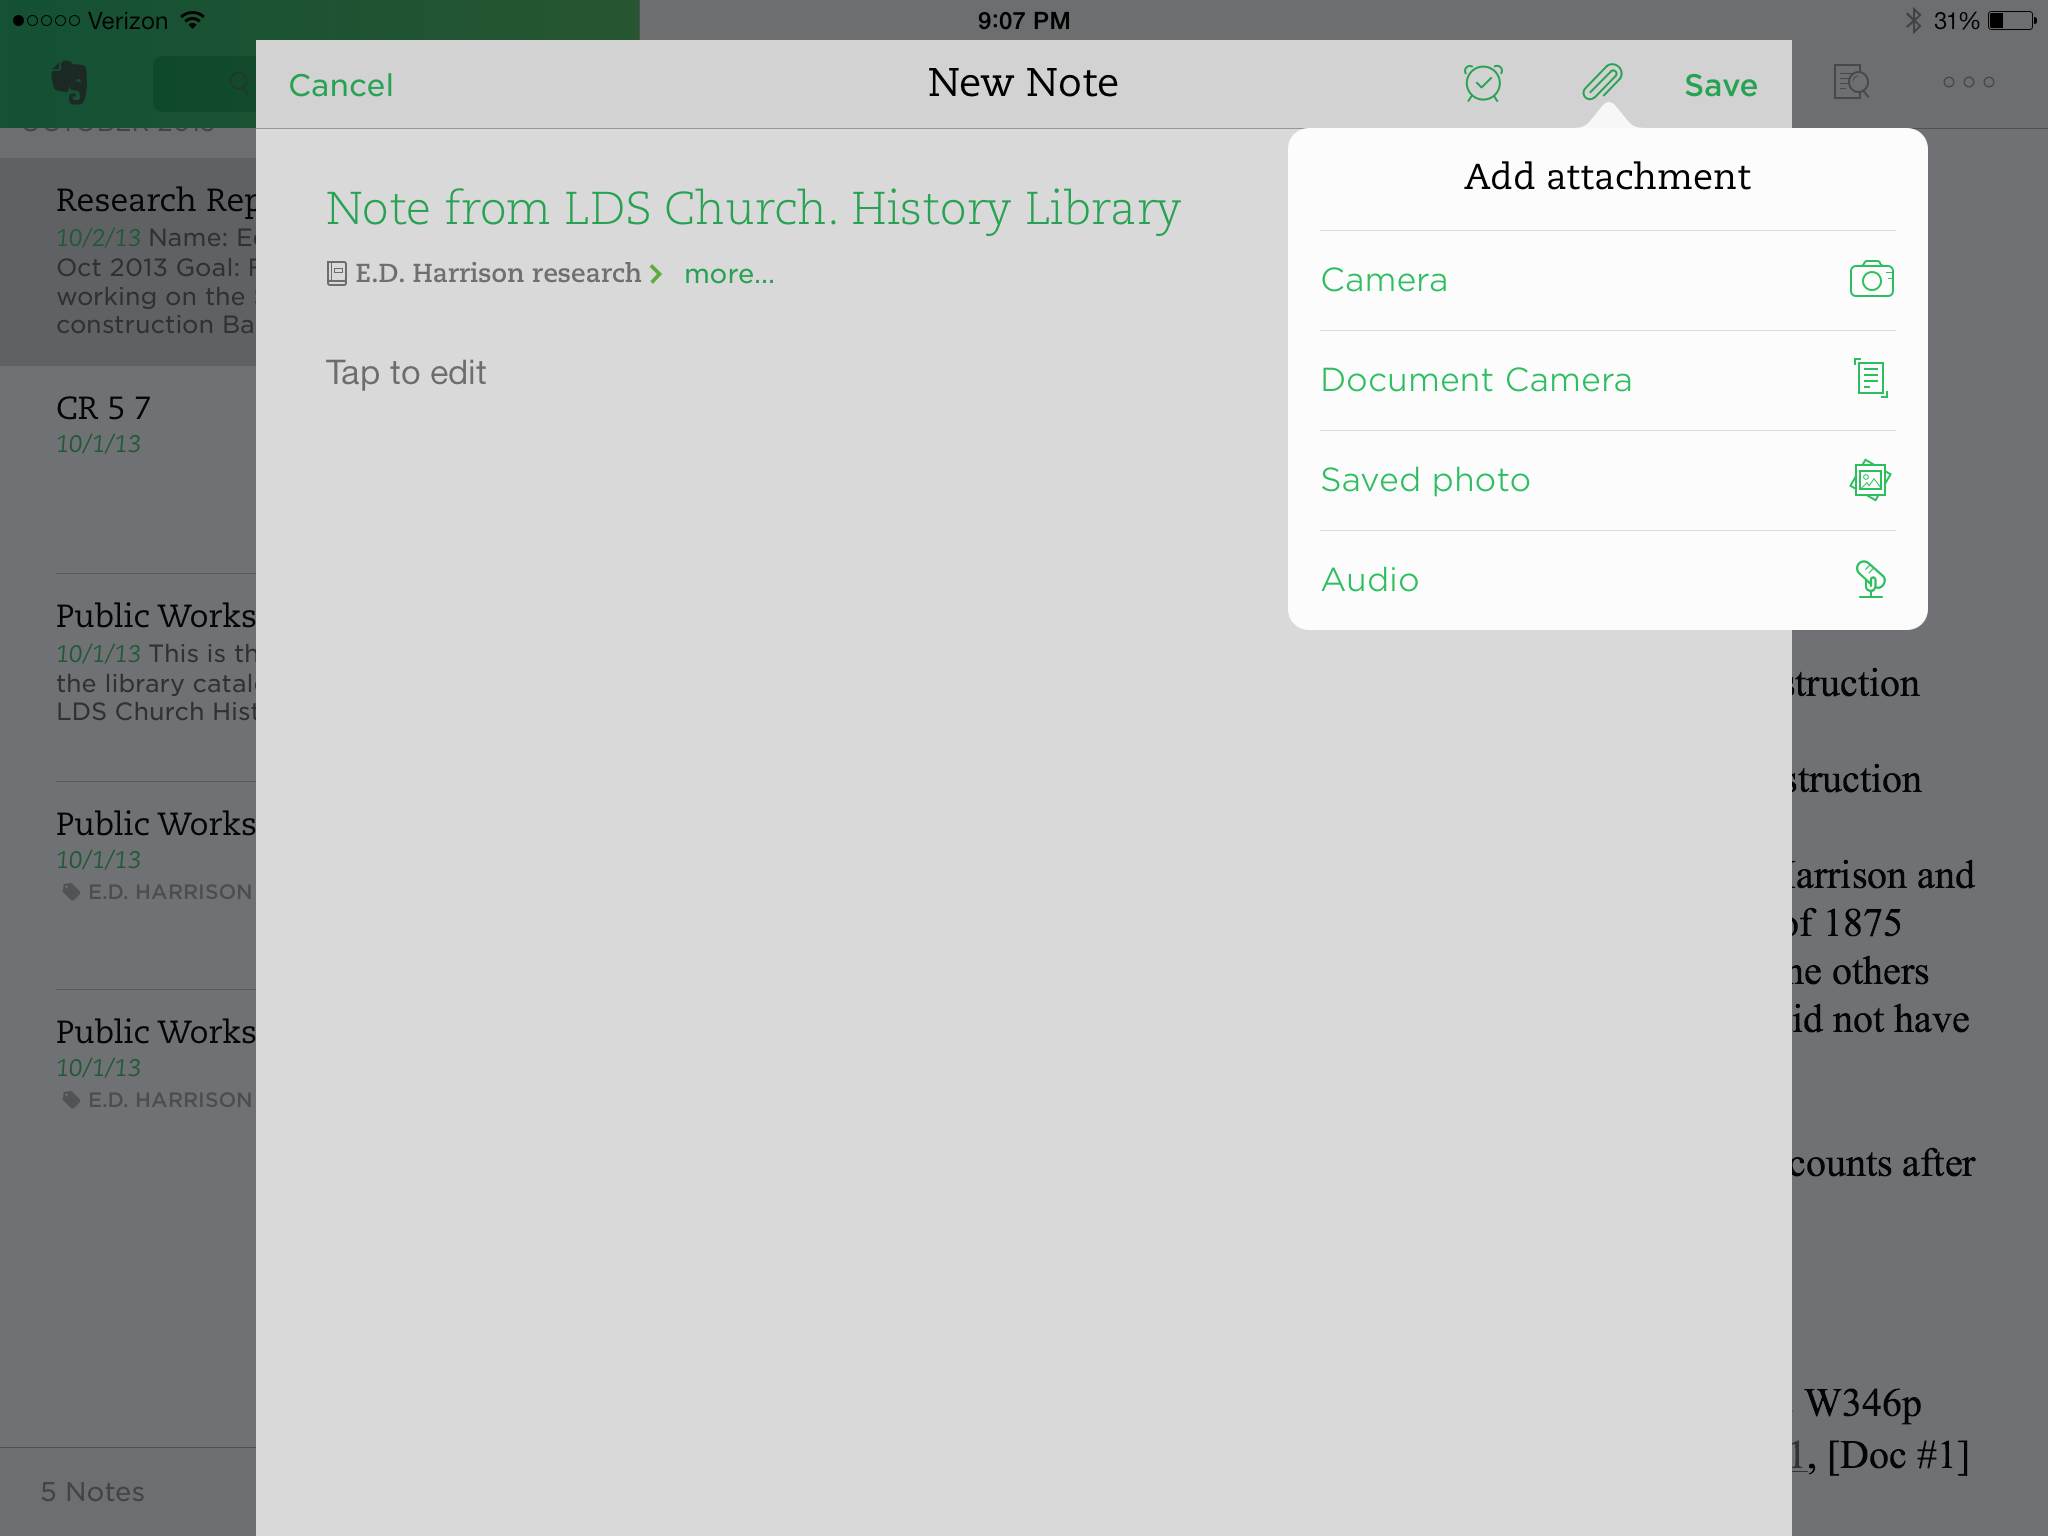
4. Utilize the basic features of a note-keeping program like Evernote, OneNote, or Google Keep
Note-keeping programs are perfect tools for genealogists, because they are designed to keep track of anything and everything, and after all—isn’t that the definition of a genealogist? Note-keeping programs allow you to clip and save webpages and images, save and annotate documents, write notes and research reports, and keep track of research on the go because it will be synced on all your devices. It’s a hundred times better than a brief case. Having all your research in one place and saved across all your devices will simplify your digital genealogy life in a big way. I use Evernote as I research, and then find a home for my permanent files in the main file folders described in item #2.
5. Keep your files in a cloud-storage and file-sharing service like DropBox, OneDrive, Google Drive, or iCloud
Remember when you had to save a file on your laptop, then download it to a flash drive and copy it onto your desktop computer if you wanted the same file in two places? Or maybe you became really good at emailing files to yourself. I hope you are not still doing that, but if you are I have good news for you. Cloud-based file-sharing services will make your life so much simpler! With a file-sharing program your files are stored in the cloud but are available on all your devices—your laptop, desktop, tablet, and smart phone. When you change a file on one device the changes will show up on all devices, instead of having different versions of a file saved in different places. I use OneDrive, but have used DropBox and Google Drive in the past. Having your files synced across all your devices will make your digital life immeasurably easier!
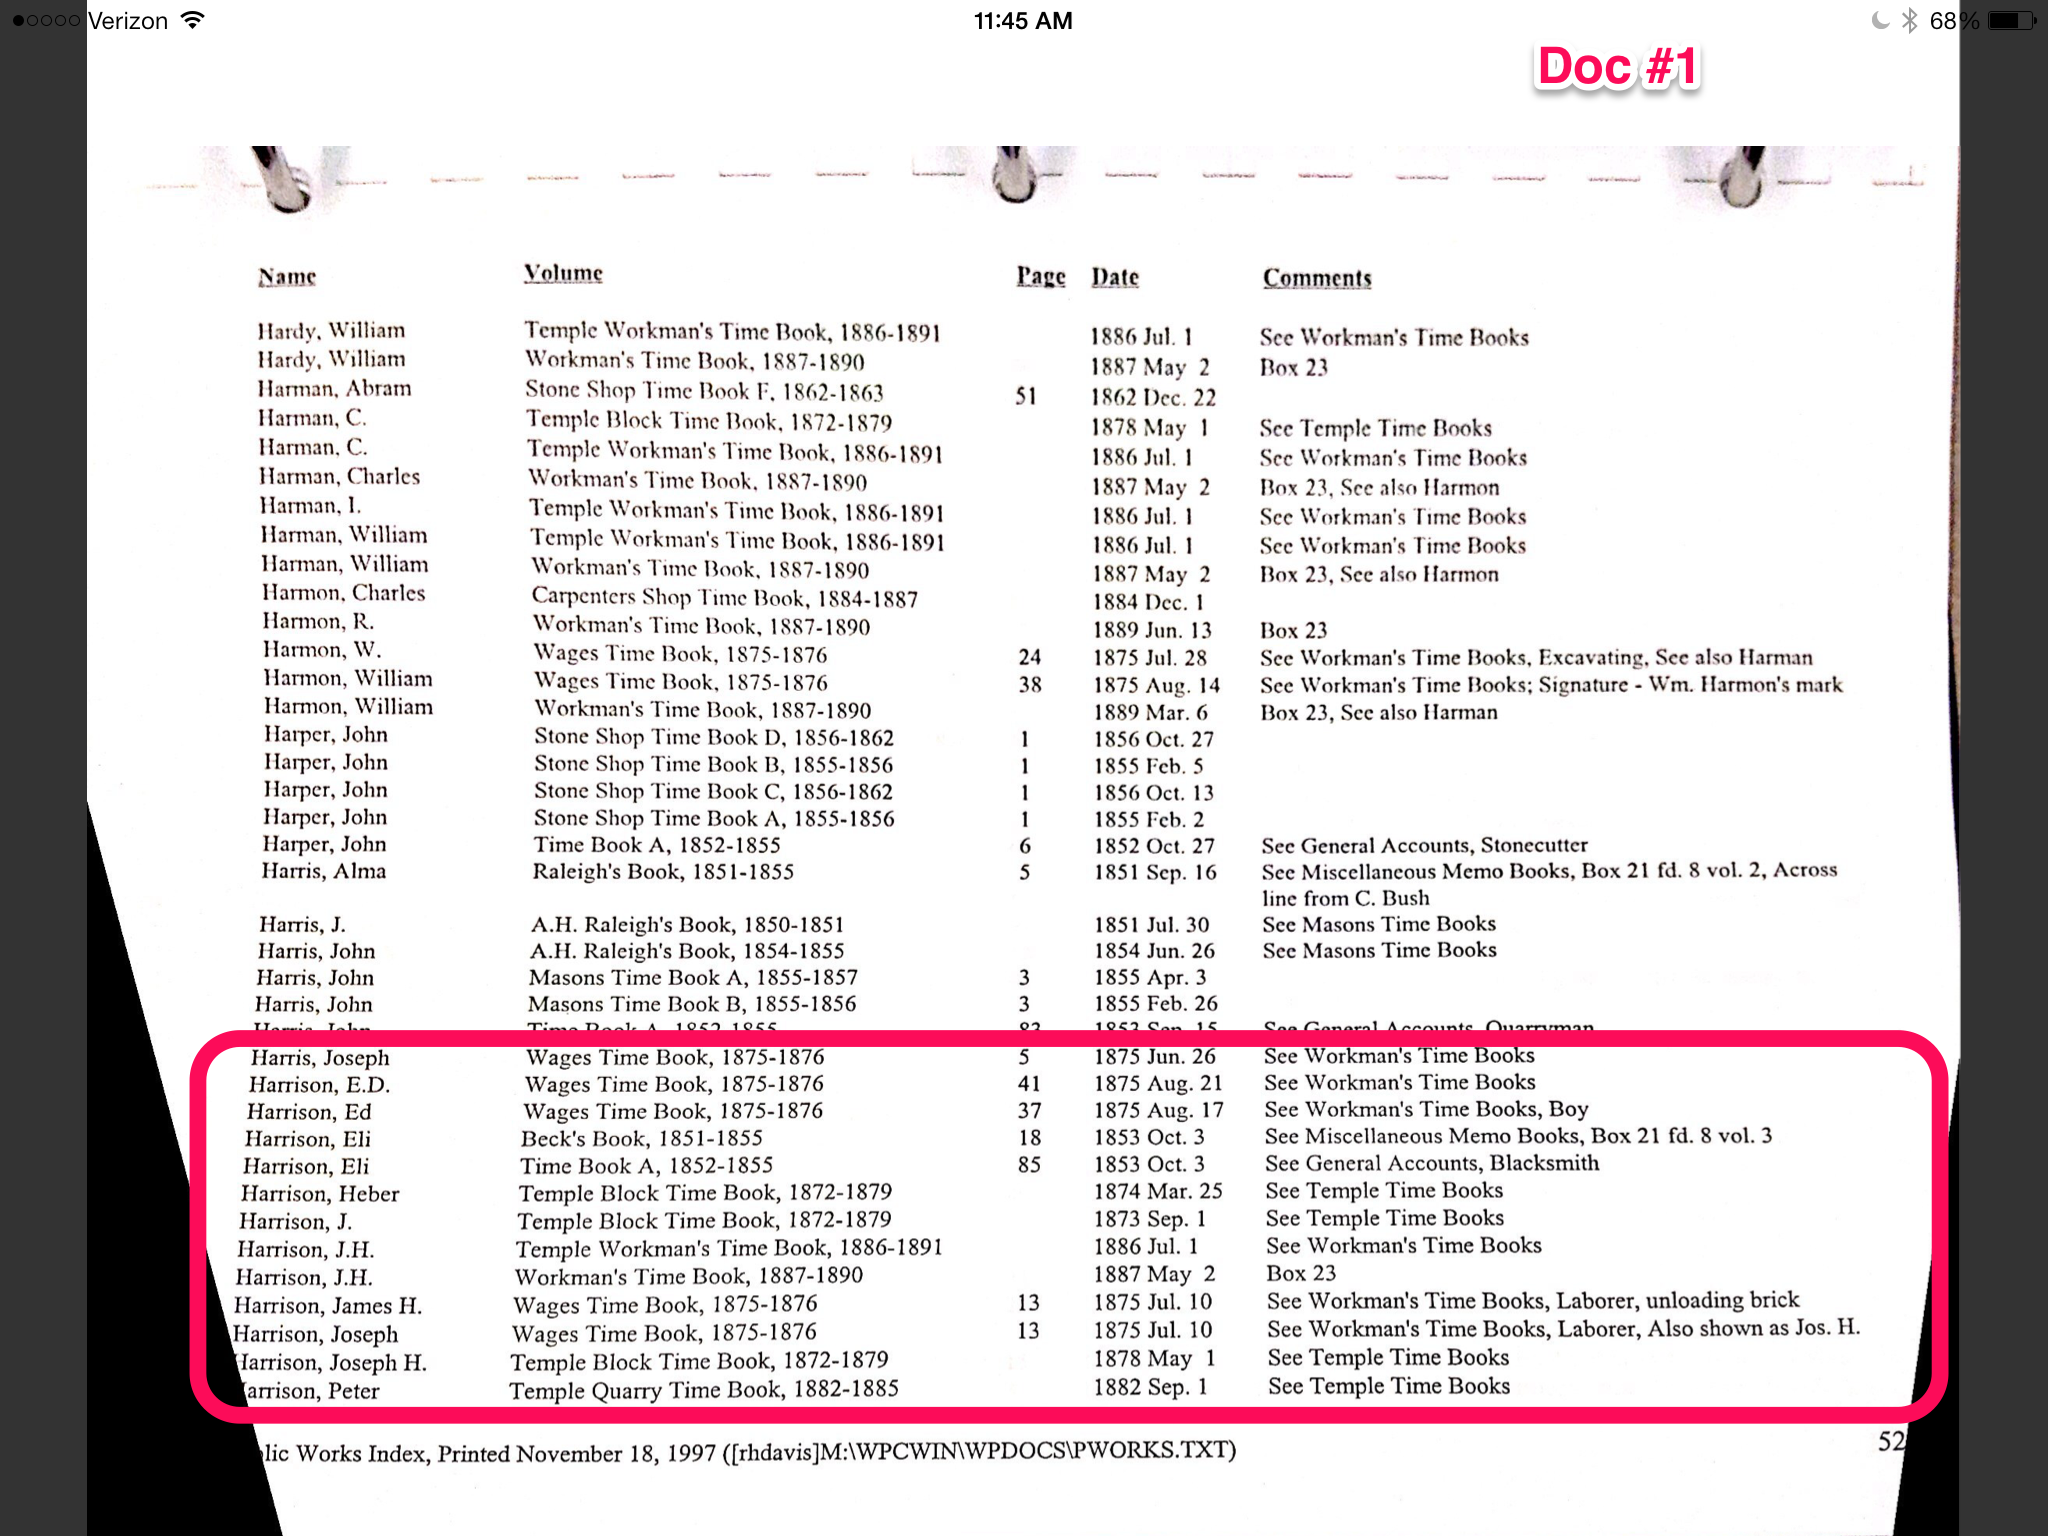
6. Download a scanning app on your smartphone or tablet
My husband teases me because I have four different scanners—a standard-sized flatbed photo scanner, a large scale flatbed scanner, the scanner integrated with my printer, and a Flip Pal mobile scanner. What do I use the most? The scanner app on my iPad. That’s because I find it is so much easier than firing up the desktop computer and flatbed scanner at home, and I also find myself in need of mobile scanning so often. Why don’t I just take a snapshot with my phone? Well, a scanner app finds the corners of a document to correct the perspective distortion and adjusts the exposure to make a decent-looking well-proportioned scan of a document. I use it to save images of source documents, books, microfilm, handouts, receipts, flyers—you name it. And my scanner app allows me to name my images and send them to Evernote or OneDrive. For source documents that require a higher resolution scan or are larger format, or for high volume projects, I can always use my flatbed scanners, but more and more I find my iPad and iPhone scanner apps meet my needs.